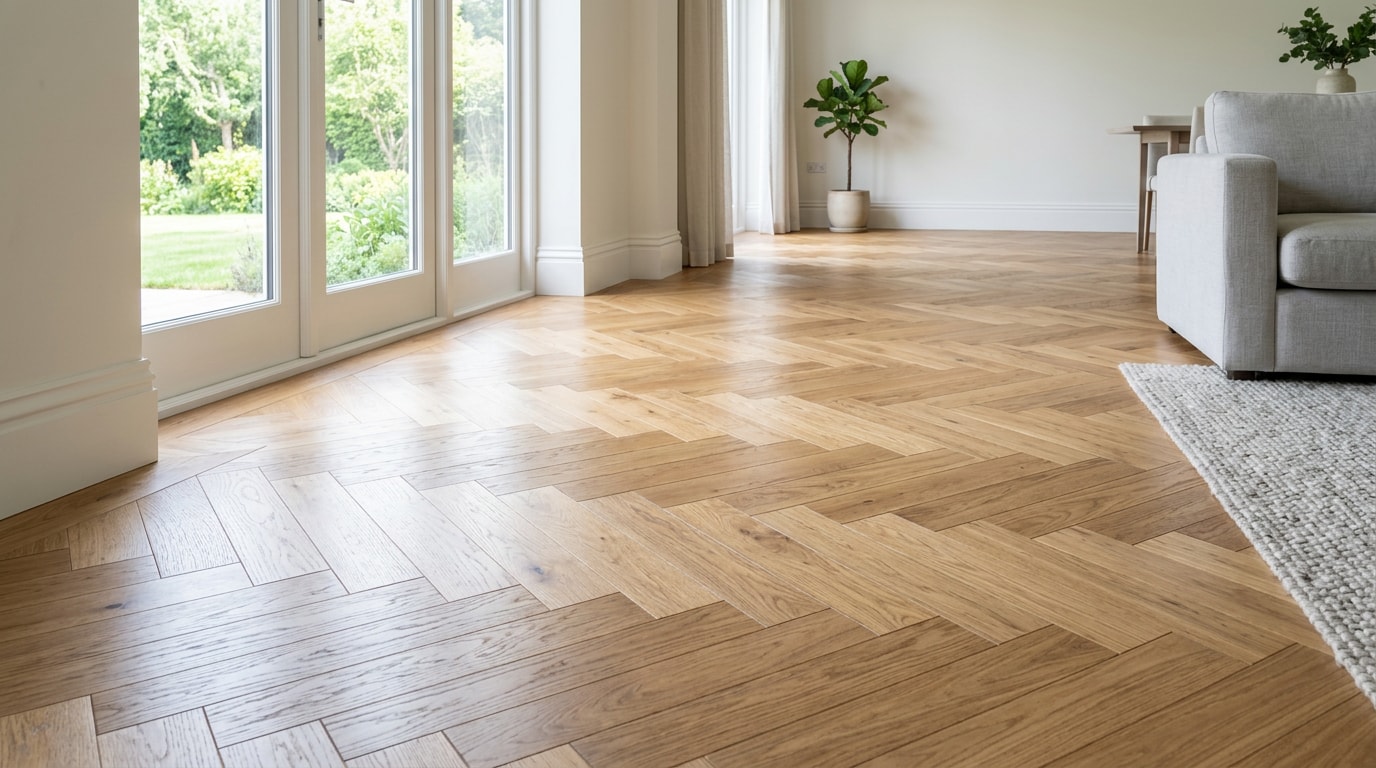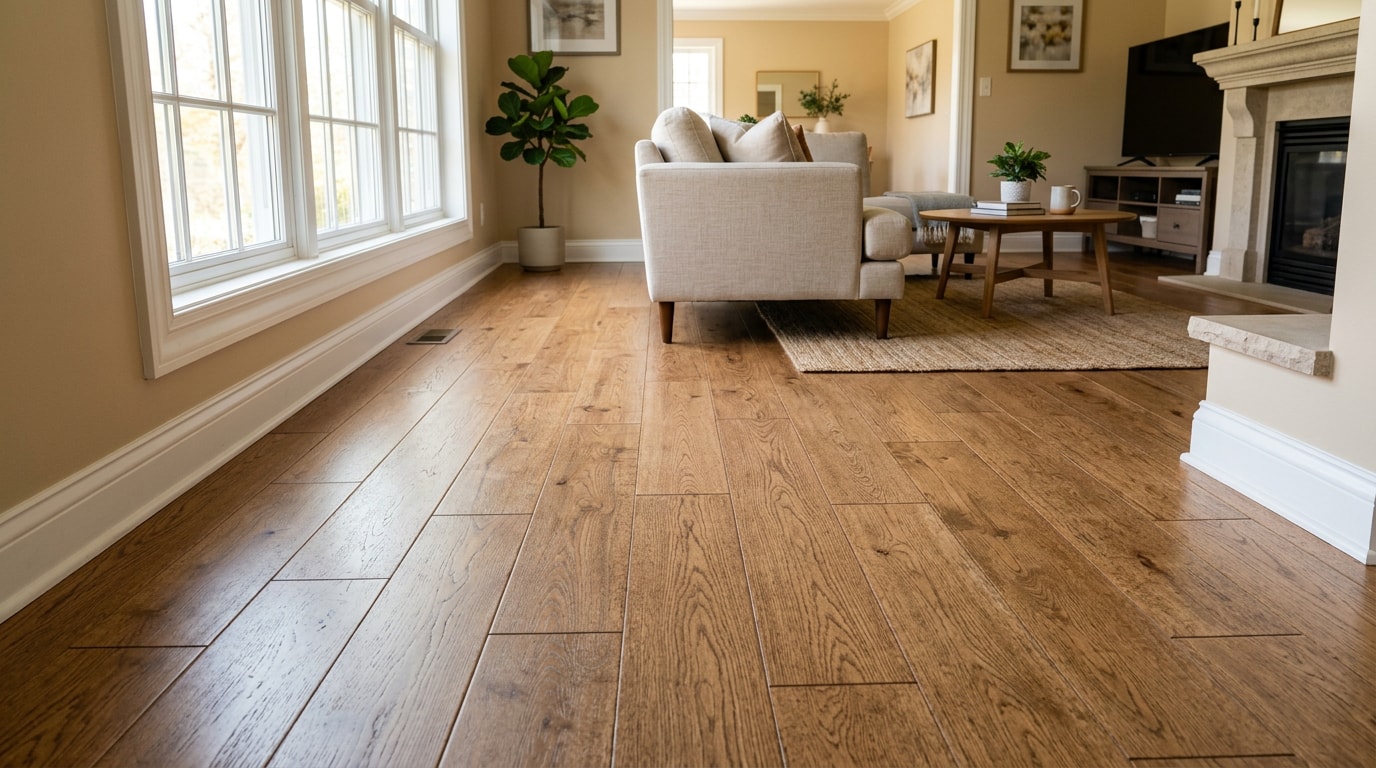
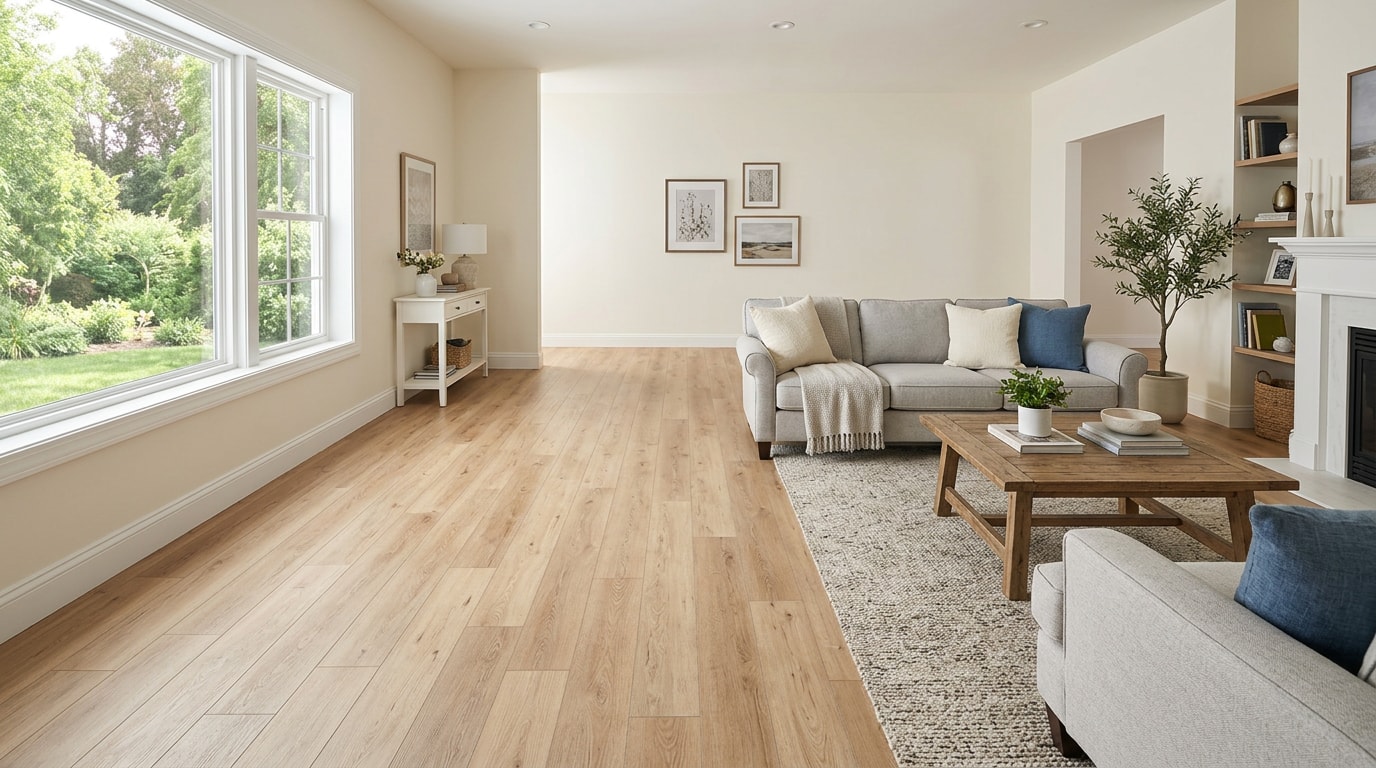
Learning how to lay vinyl plank flooring in Lake Zurich, IL takes less time than most homeowners expect once the subfloor is prepped and the layout is planned. A single room usually comes together in a weekend with click-lock planks, a handful of basic tools, and a plan for where to start the first row. Here's the step-by-step process our crews use on real jobs, plus the mistakes that turn a simple install into a redo.
Advantages of Vinyl Plank Flooring
Vinyl plank flooring has become one of the most popular DIY flooring choices in Lake Zurich for a simple reason: it looks like hardwood but behaves like armor. It's comfortable underfoot while creating a sleek finish, and it resists moisture and staining, which makes it a smart pick for families with kids, pets, or a mudroom that sees heavy foot traffic.
Beyond durability and water resistance, vinyl plank is budget-conscious compared to solid hardwood. Modern click-lock systems make this a genuinely approachable DIY project, even for someone who's never installed a floor before.
If you'd rather skip the labor, our luxury vinyl plank installation service can handle the project start to finish, and we serve homeowners throughout Lake Zurich directly.
Choose Which Type of Vinyl Plank Flooring to Use
Before buying tools, figure out which installation category your planks fall into, because the method changes everything downstream. Vinyl plank flooring comes in three main types, each with different tools, subfloor requirements, and ideal rooms:
- Click-lock (floating): tongue-and-groove planks that snap together without glue or nails.
- GripStrip (peel-and-stick): planks with a pre-applied adhesive strip, butted end-to-end.
- Glue-down: planks bonded directly to the subfloor with troweled adhesive.
Click-lock vinyl plank can be entirely waterproof, which matters if you're deciding between a basement rec room and an above-grade bedroom. Glue-down planks tend to offer the most stable, permanent bond but demand more prep work and dry time.
Here's how the three stack up side by side:
| Install Type | Install Difficulty | Approx. Cost per Sq Ft | Best-Use Rooms | Waterproof Rating |
|---|---|---|---|---|
| Click-Lock | Easiest | $2–$5 | Living rooms, bedrooms, kitchens | Often fully waterproof |
| GripStrip (Peel-and-Stick) | Easy–Moderate | $1.50–$4 | Basements, rentals, low-traffic rooms | Usually water-resistant |
| Glue-Down | Moderate–Advanced | $2–$6 | High-traffic spaces, basements | Varies by product |
Tools and Materials Needed
Gather everything before making a single cut. Stopping mid-row to hunt for a missing tool is how a weekend project stretches into two.
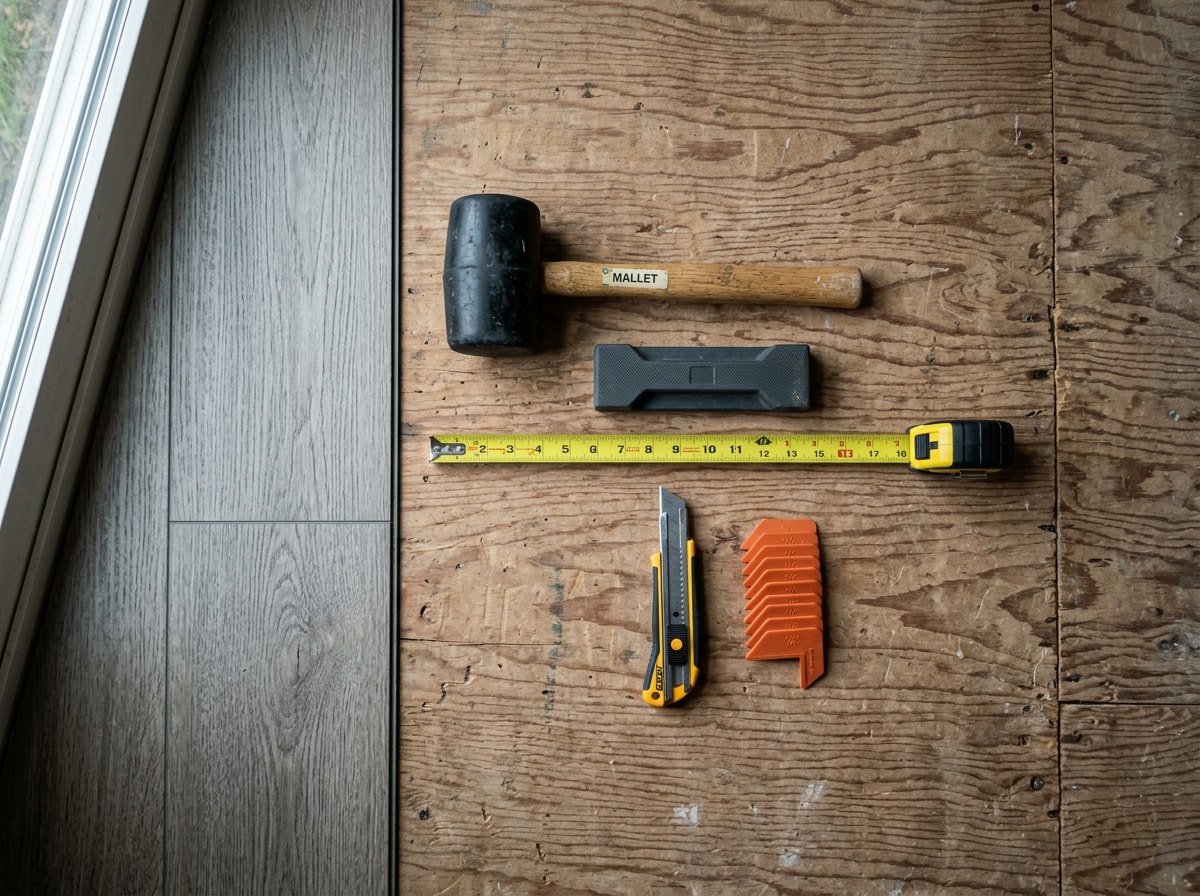
Tools
- Measuring tape, chalk line, and a straightedge
- Vacuum to clear debris between steps
- Tapping block and rubber mallet to seat each plank snugly
- Utility knife for scoring straight cuts
- Jigsaw for door frames and vents, which rarely cooperate with a straight blade
Materials
- Vinyl plank flooring (verify total square footage plus 10% waste)
- Underlayment, unless planks have it pre-attached
- Transition strips for doorways
- Flooring spacers to hold the expansion gap
- Baseboard or quarter-round trim to cover the gap once the floor is down
If you're unsure which plank thickness fits your rooms, this vinyl flooring thickness buyer's guide breaks down the differences before you buy. For full-room estimates, our flooring installation team can help price materials before you commit to a start date.
Preparing the Subfloor
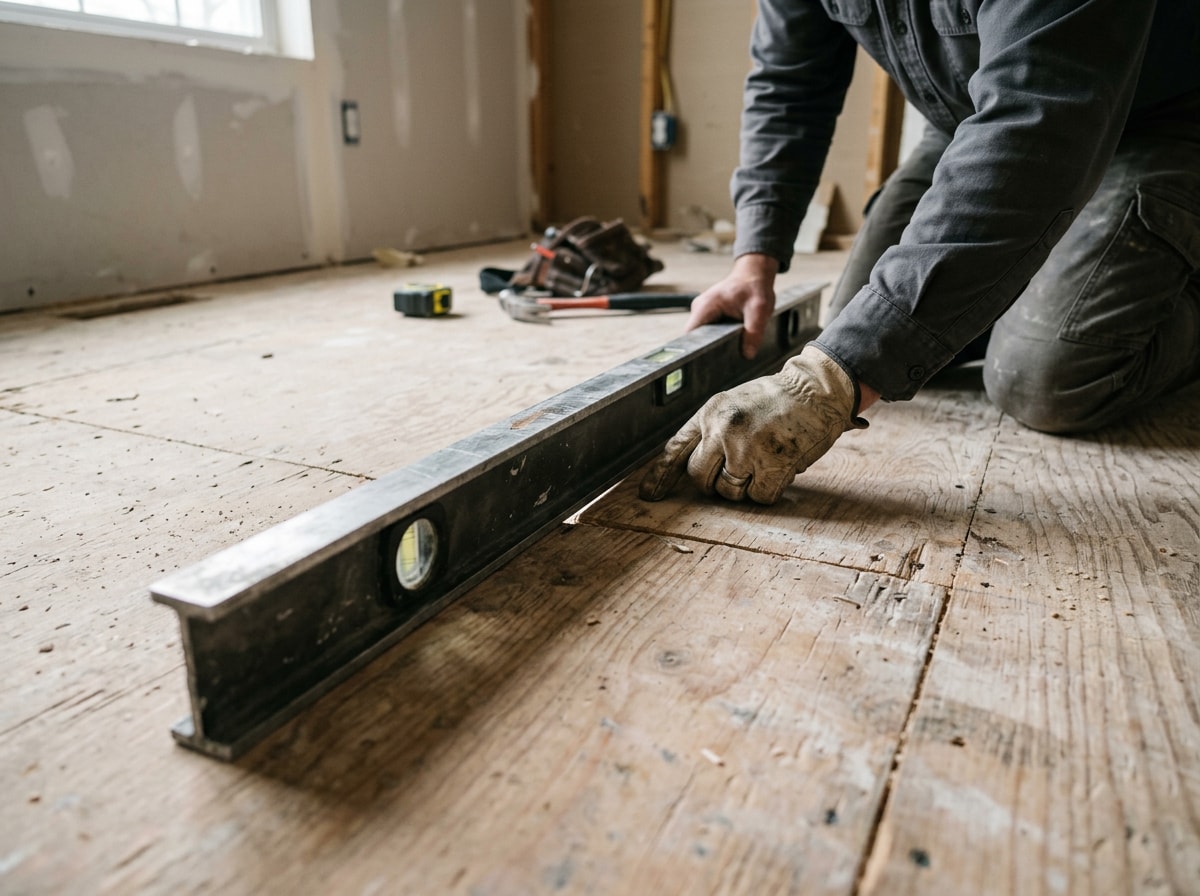
A level subfloor is the single biggest factor in whether your new floor lasts or starts failing within a year. The surface should be flat within 3/16 inch over any 10-foot span, and low spots get filled with self-leveling compound while high spots get sanded or ground flat. Uneven surfaces cause planks to flex, click joints to pop, and wear patterns to show up early.
Vinyl plank can go over concrete, tile, wood, or existing laminate, as long as that surface is undamaged, clean, and level. If you're installing over a concrete slab, especially in a below-grade basement, the industry standard for checking that slab is ASTM F710, the Standard Practice for Preparing Concrete Floors to Receive Resilient Flooring , which covers moisture and pH testing before adhesive-based installs.
One important caveat: if you're removing old flooring first, don't sand or grind older vinyl tile without checking it for asbestos. Asbestos-containing materials may release fibers when they are disturbed, damaged, removed improperly, repaired, cut, torn, sanded, sawed, drilled or scraped. Many Lake Zurich homes built before the 1980s still have original tile under later flooring layers, and the EPA's general guidance is that if you're in doubt, treat the material as if it contains asbestos and leave it alone until it's tested.
Planning Your Layout
Good layout planning prevents you from ending up with a sliver of plank against the far wall. Measure room width, subtract your expansion gap, then divide by plank width to calculate how many full planks fit per row and how wide your border planks will be.
Aim for border planks no less than half the plank's original width. If the math leaves you with a 2-inch sliver, adjust your starting point so both border rows end up a similar, wider size. On larger Lake Zurich great rooms, we'll often dry-fit two full rows before snapping anything together, since open floor plans make an off-center stagger pattern obvious the moment the furniture goes back in.
Most manufacturers recommend letting planks acclimate to the room for 48 hours and leaving a consistent expansion gap around the perimeter, typically a quarter-inch for click-lock floors. For full installs, our flooring installation page can walk through square footage estimates if you'd rather not do the math by hand, or contact us for a free on-site measurement.
Installing Click-Lock Vinyl Plank Flooring (Step-by-Step)
This is the method most Lake Zurich homeowners use, and it's the most forgiving for a first-timer.
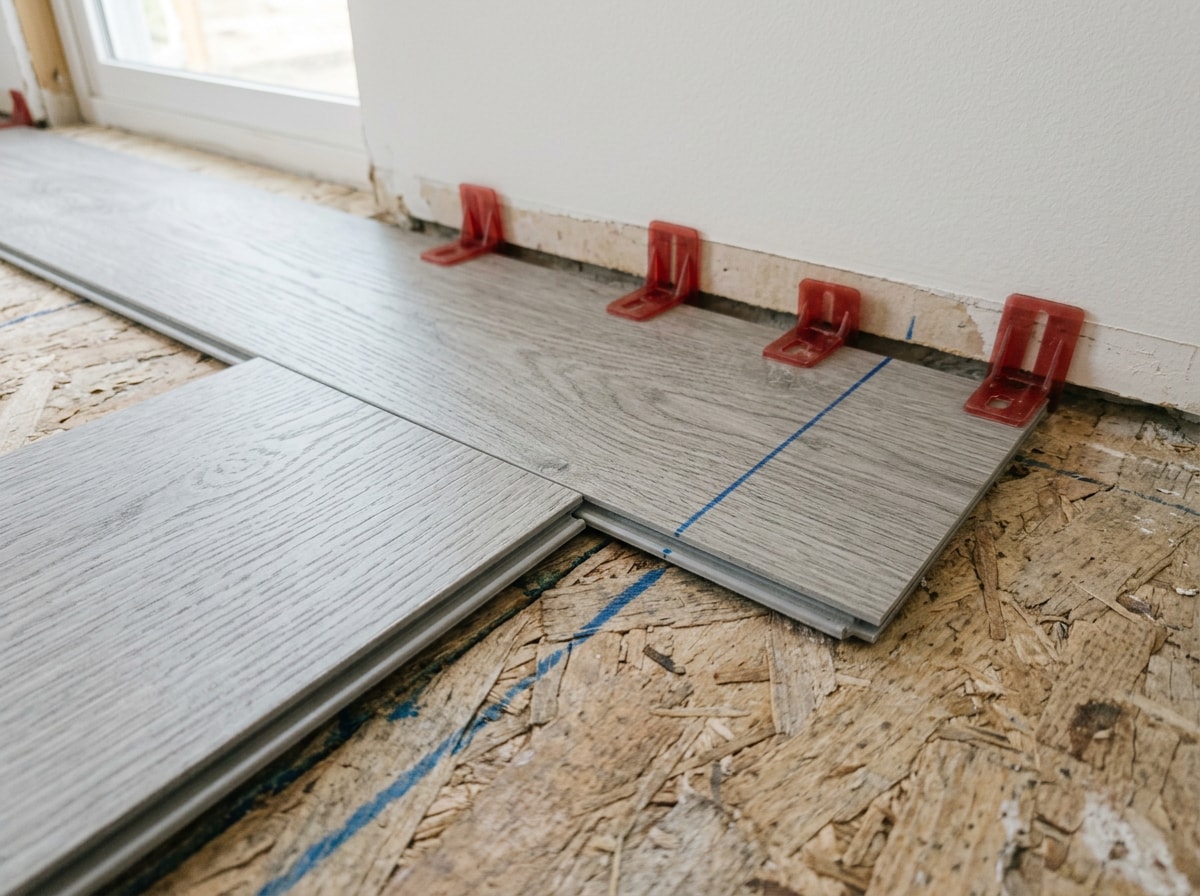
- Trim the short tongue edge off the first plank, then set it in the corner with the groove edge facing away from the wall and spacers maintaining your gap.
- Angle the second plank's tongue into the first plank's groove, lower it flat, and let it snap together.
- Continue down the row, trimming the last plank to fit.
- Use the leftover cut piece to start the next row.
Stagger the short joints so each one lands at roughly the 1/3 or 2/3 mark of the plank in the adjacent row , which keeps the pattern random and natural-looking.
- Use a ¼-inch spacer for the expansion gap in most rooms.
- For straight cuts, score the plank with a utility knife and snap it along the line. Save the jigsaw for door frames and odd angles.
A sharp blade matters more than speed here. Employers shall not issue or permit the use of unsafe hand tools , and that same logic applies at home: a dull utility knife blade requires more force and is more likely to slip. OSHA's hand tool safety standard is a quick read if you haven't used a utility knife much.
Troubleshooting tip: If a row won't click flush, check for debris trapped in the groove before forcing it. A stray wood chip or dust is the most common culprit. If your starting wall is slightly bowed, don't force the first row dead straight against it. Instead, snap a chalk line a consistent distance from the wall and use that as your true starting reference, trimming the first row to follow the wall afterward.
Other Types of Vinyl Plank Flooring
Not every plank uses click-lock mechanics. If your product is labeled GripStrip or glue-down, the process looks different from what's described above.
Installing GripStrip (Peel-and-Stick) Vinyl Plank Flooring
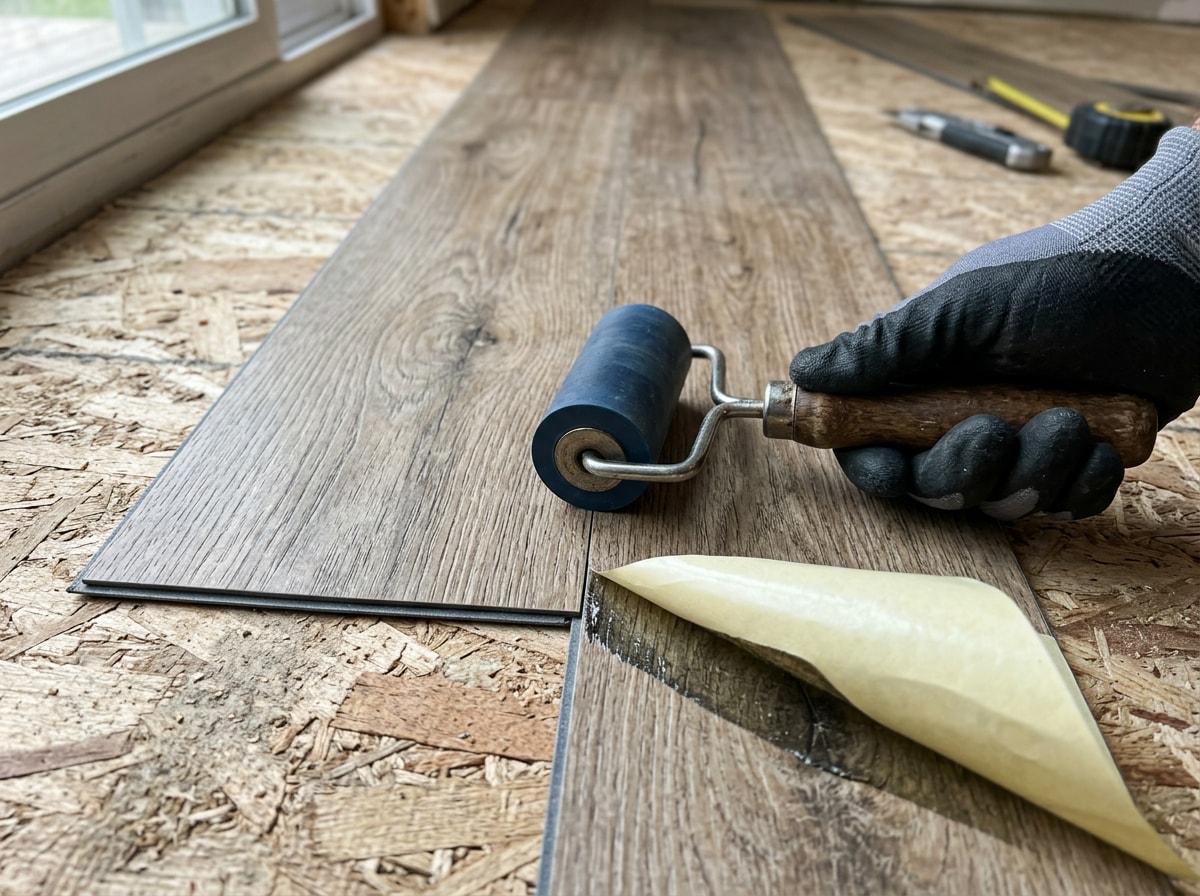
Lay the first row of vinyl plank flooring along the wall, leaving the manufacturer-recommended expansion space, usually about 1/4-inch. Butt the planks end-to-end, overlap the adhesive strips, and press down firmly using a hand roller.
Once the whole floor is down, roll it in both directions with a 75- to 100-pound floor roller. This step forces out air pockets and seats the adhesive evenly across every seam.
Installing Glue-Down Vinyl Plank Flooring
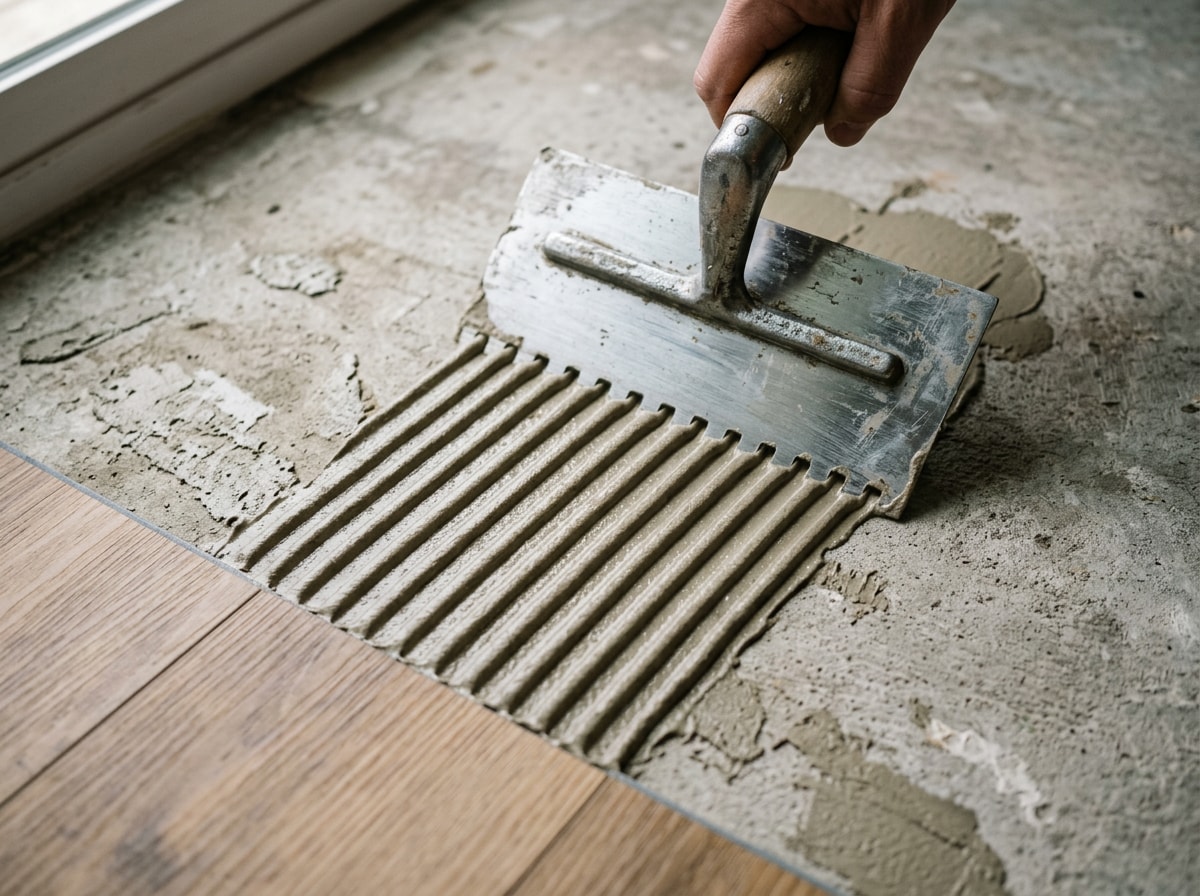
This method is more permanent: spread adhesive on the subfloor and press each plank into place, then use a floor roller to lock it down and smooth out air bubbles. Let the adhesive set until it's tacky rather than wet before laying planks, and use chalk lines to keep rows straight.
Unlike click-lock, glue-down installs typically start in the center of the room rather than in a corner, which helps keep adhesive coverage even as you work outward toward the walls.
When DIY Isn't the Right Call
Vinyl plank is one of the more forgiving flooring types to install yourself, but a few situations push a project out of weekend-warrior territory. Whole-house installs with multiple room transitions, suspected asbestos tile underneath, uneven concrete that needs grinding, or large open floor plans where one crooked row shows up across three rooms are all good reasons to bring in a crew. Our projects page shows recent installs around the area if you want a sense of what a professional finish looks like before deciding. Visit our homepage to see our full range of flooring services.
If your project turns out to be bigger than one room, get a free estimate and we'll walk the space with you before you buy a single plank.
FAQ
How long does vinyl plank flooring installation take?
A single room of roughly 170 square feet typically takes a first-time DIYer 4 to 6 hours, including subfloor prep and layout planning. Experienced installers move faster, often covering 200 to 300 square feet per hour once they're in a rhythm.
Do you need underlayment for vinyl plank flooring?
If your planks already have pad-attached underlayment, you don't need to add more. If they don't, a separate underlayment layer improves sound reduction, adds a moisture barrier, and makes the floor feel more comfortable underfoot.
Which direction should you lay vinyl plank flooring?
Most installers run planks parallel to the longest wall or the room's main light source, since it looks more natural and makes seams less noticeable. In hallways, following the direction of foot traffic usually looks and wears better.
Do vinyl planks need to acclimate before installation?
Yes. Leave unopened boxes flat in the room where they'll be installed for about 48 hours before you start. This lets the planks adjust to the room's temperature and humidity, which reduces gaps or buckling after installation.
Can vinyl plank flooring go over existing tile or hardwood?
In most cases, yes, as long as the existing surface is clean, flat, and structurally sound. Loose tiles, cracked grout lines, or squeaky hardwood boards need to be fixed first, since those flaws will telegraph through the new vinyl over time.
How much does it cost to install vinyl plank flooring?
Vinyl plank flooring cost typically falls between $1,000 and $4,500 for a full room installation, depending on square footage, plank quality, and installation method. Costs vary by region, so it's worth getting a local estimate before budgeting a final number.