Installing cork flooring in a Palatine, IL home comes down to three things: a flat, dry subfloor, correct acclimation, and the right adhesive for your tile or plank system. Get those three right and the rest of the job is mostly careful, repetitive work. This guide walks through the full process in the order a professional installer would actually tackle it, including the step homeowners skip most often and pay for later.
Tools and Materials You'll Need
Gather everything before you start. Running to the hardware store mid-install is how corners get cut and seams end up crooked.
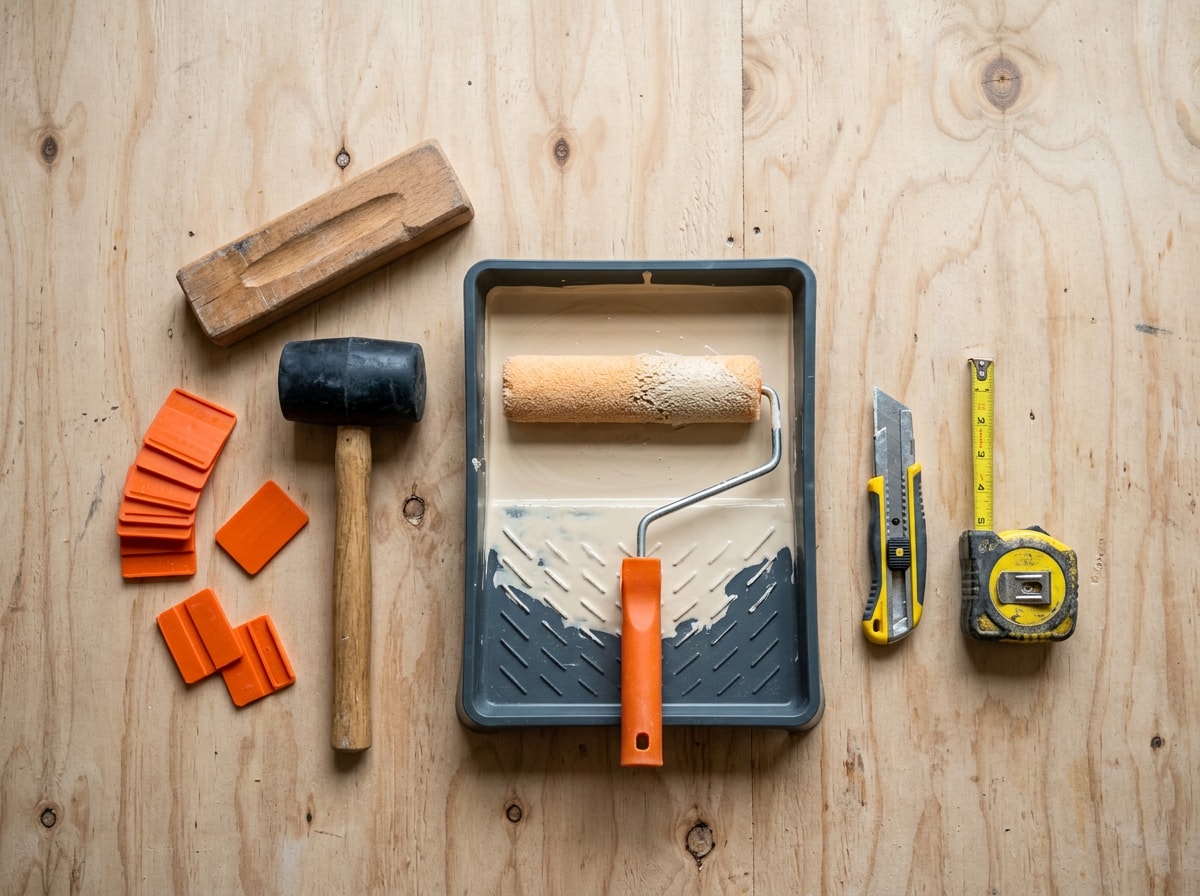
For floating (click-lock) planks, you'll need:
- Cork planks and underlayment
- Tapping block and rubber mallet
- Spacers (1/2-inch)
- Jigsaw or handsaw
- Measuring tape and chalk line
- Utility knife
For glue-down tile, add:
- Contact cement or mastic adhesive
- Low-nap or microfiber roller
- Circular saw
- Floor roller
- Shoe molding or quarter round
- Polyurethane finish (if tiles aren't prefinished)
A screw gun is worth having on either method in case the subfloor needs a quick repair before you lay anything down.
Prep the Subfloor First
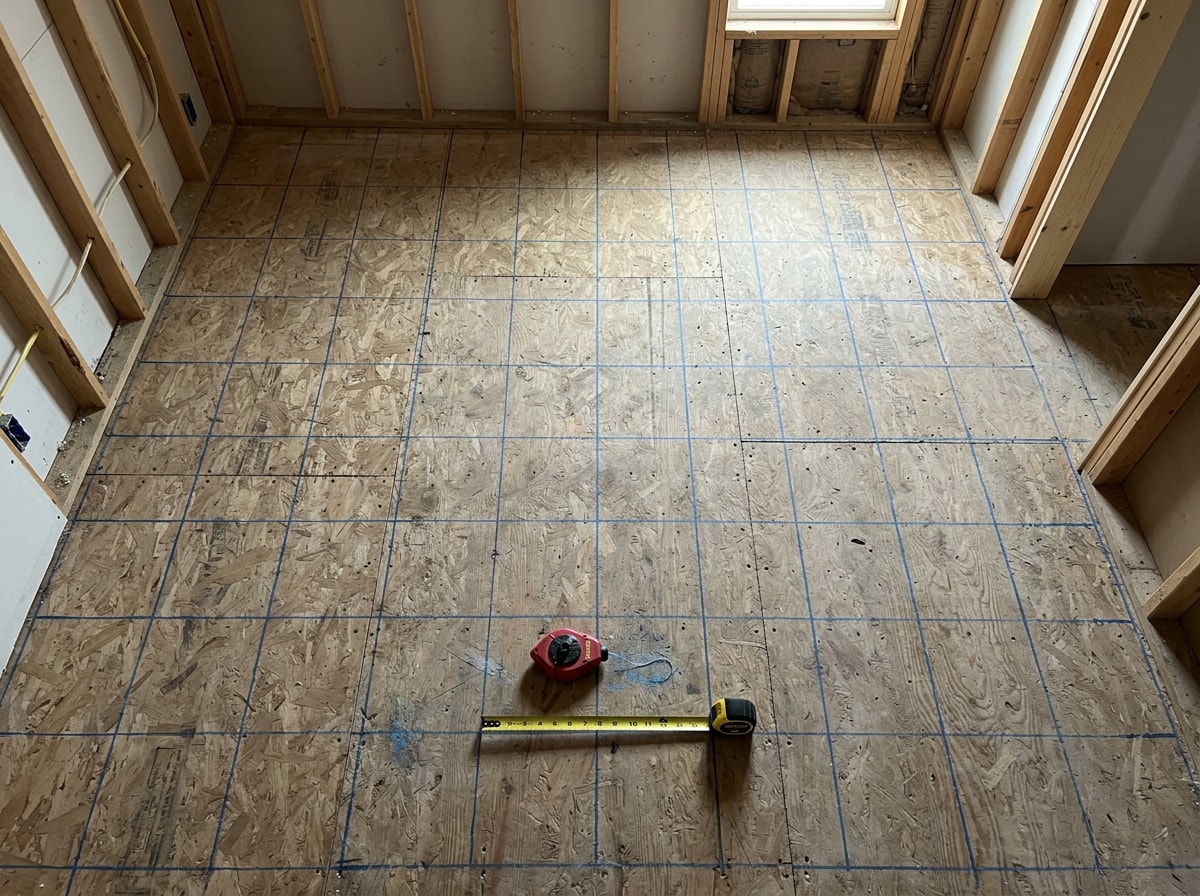
Cork is thin and flexible, so it telegraphs every bump, seam, and low spot underneath it. This is the stage most DIY cork jobs actually fail at, not the installation itself.
Measure and order enough material. Calculate the room's square footage and add roughly 10% for cutting waste and future repairs.
Acclimate the cork. Open the boxes and let the planks sit in the room where they'll be installed for at least 48 hours before you start , and keep room and subfloor temperature between 65 and 85°F during storage and installation, since improper acclimation can cause the floor to expand or contract after it's down . In a Chicago-area winter, that usually means running the HVAC normally for two full days before delivery, not just setting boxes in a cold garage. We've seen planks that sat in an unheated Palatine garage over a January cold snap arrive with visible gaps at the ends within a week of installation; the fix was always acclimation, never the product.
Remove or cover the old floor. If you're replacing old flooring, remove it completely, including staples and adhesive residue, and confirm a concrete subfloor is clean, dry, and level . Cork cannot be installed directly over plank flooring, vinyl, or linoleum — a plywood underlayment of at least 1/4 inch is required over those surfaces first . Any surface that isn't completely smooth needs to be sanded and de-waxed, since cork will contour to uneven spots in the subfloor, and old adhesive residue should be scraped, heat-gunned, or solvent-stripped before you go further .
Test concrete for moisture. Installation of synthetic flooring should not begin until the concrete substrate has been confirmed dry using industry-standard testing, since a wet slab can cause poor adhesive bonding and performance problems later . For glue-down systems, relative humidity should read 75% or lower before you install anything on top . A simple $20 meter from a hardware store won't give you this reading; a probe-based RH test kit will.
Check for asbestos in older flooring. If the material you're removing predates 1980, don't assume it's safe to cut into. Both asphalt and vinyl flooring material installed no later than 1980 must be treated as asbestos-containing under OSHA's standard, regardless of how it looks . Removal may be required if remodeling or other changes to your home will disturb asbestos-containing material , so when in doubt, have a sample tested before demolition rather than after. The EPA's guidance on asbestos in the home explains when professional testing makes sense and when it doesn't.
Trim door casings. Trim door casings and jambs so the cork can slide underneath, using a piece of the cork flooring next to the casing as a height guide and a flush-cut saw to trim to the correct height .
Plan the Layout Before You Cut Anything
A rushed layout is the most common reason a cork floor ends up with a sliver of flooring against the far wall. Take the extra 20 minutes here.
Determine which direction the planks should run, generally parallel to the room's longest wall or the main light source, then measure the room's width against plank width to see whether your first row needs a lengthwise cut. For tile layouts, snap chalk lines through the room's center and dry-lay a row along each line before committing to adhesive.
Installing Floating Cork Planks
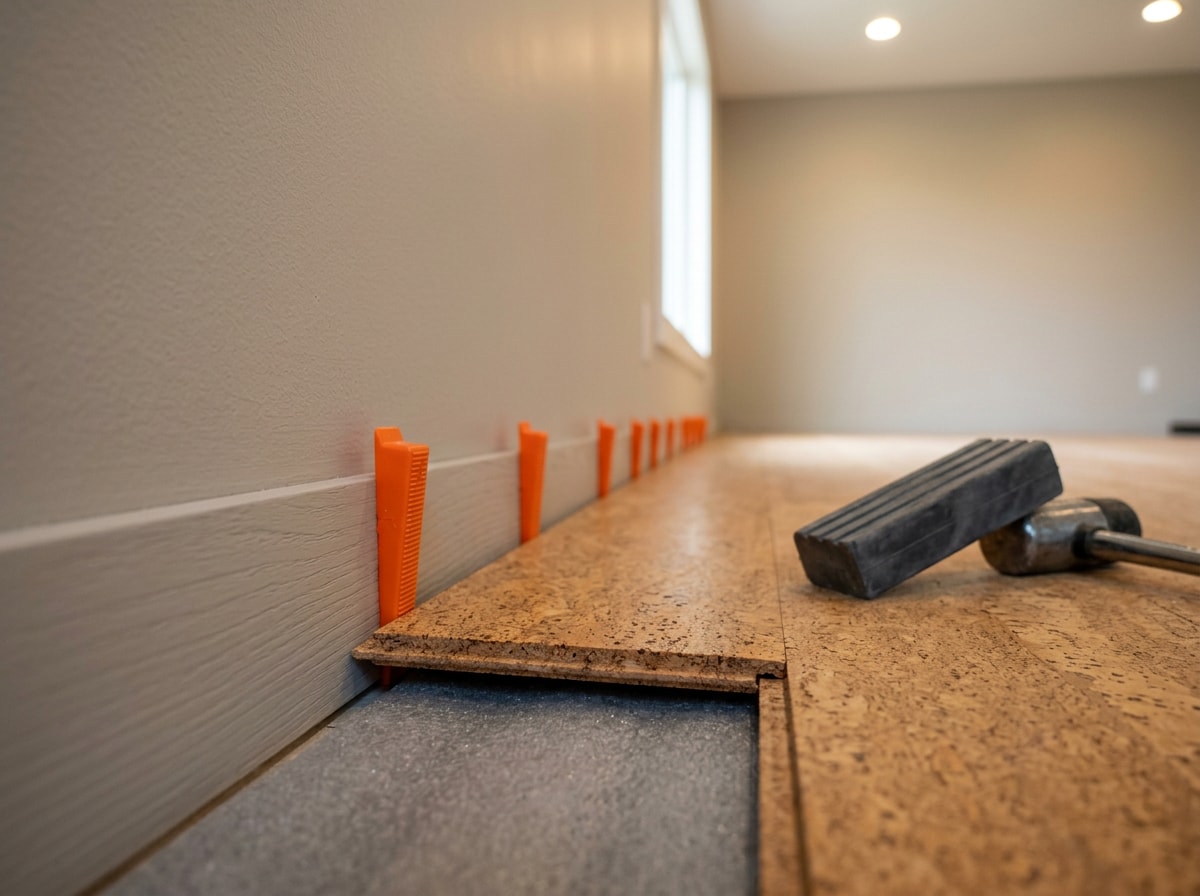
First row. Start in a corner, placing 1/2-inch spacers against the walls to allow for expansion , trimming the tongue off the first row if your layout calls for it. Lift each plank at roughly a 45-degree angle, slide the end into the previous plank, and press down until the tongue and groove click together, continuing until the first row is complete . Use the tapping block along the long edge, not directly on the plank face, to avoid damaging the finish.
Continuing rows. For each new row, start with the leftover piece from the row before it as long as it's at least 10 inches long — this creates a staggered pattern that adds strength and a more natural look . Vary the starting length row to row so the stagger doesn't fall into a repeating grid.
Last row. Measure the remaining gap and cut planks to fit, leaving the same expansion gap, using a pull bar to click the final pieces into place. If the last row ends up narrower than 2 inches, rip down both the first and last rows for a more balanced look .
Installing Glue-Down Cork Tile
Glue-down tile is less forgiving than floating planks, and the adhesive you choose matters more than most DIYers expect.
Cork tiles are installed with either contact cement or mastic. With contact cement, adhesive goes on both the subfloor and the tile backs and is allowed to dry; once the two surfaces touch, they bond instantly and can't be repositioned . Mastic is troweled onto the subfloor and the tiles are set into the wet adhesive, which allows repositioning but makes it easier for tiles to shift and ruin the layout — most DIYers still prefer contact cement despite being less forgiving .
| Adhesive Type | Working Time | Ventilation Needs | Best For |
|---|---|---|---|
| Contact cement | Short, bonds on contact | High; strong odor | Experienced DIYers, tight timelines |
| Mastic | Longer, repositionable | Moderate | First-time installers, larger rooms |
| Floating (no glue) | N/A | Minimal | Rentals, basements, quick installs |
Open windows or run fans before applying either adhesive. Roll it onto the tile backs with a low-nap roller so coverage is even without leaving fibers in the glue.
Because basement slabs carry a higher risk of trapped moisture, only floating floors are recommended below grade — glued tiles can delaminate and cup over time . If you're finishing a Palatine basement, plan on a floating system with a vapor barrier rather than glue-down tile.
Once the main field is set, measure and cut border tiles to fit the perimeter, leaving the expansion gap, and set them the same way as the field tiles. Border pieces take more patience since no two wall irregularities match.
Finishing the Floor
Once installation is complete, pass a floor roller over the surface to fully seat the tiles against the adhesive . If your cork wasn't prefinished, vacuum thoroughly and apply a sealant or polyurethane once everything is dry.
Leave the expansion gap around the room's perimeter at roughly 3/8 inch , then cover it with baseboard, shoe molding, or quarter round. Attach trim to the wall rather than the floor so the cork can still move with seasonal humidity changes.
For manufacturer-specific acclimation and installation tolerances, APC Cork's floating installation specs are a useful technical reference to double-check against your product's documentation.
If the glue-down steps feel like more precision than you want to take on solo, the flooring installation team at SCV Floorsmith handles cork, hardwood, and vinyl installs throughout Palatine and the surrounding suburbs — worth a call before you're mid-project with a half-glued floor.
FAQ
Is Cork Flooring Easy to Install?
Floating click-lock cork is DIY-friendly even for first-timers since the planks snap together without adhesive. Glue-down tile is more technical and far less forgiving of mistakes, so it's often better left to an experienced installer.
Can Cork Flooring Be Installed Over Concrete?
Yes, but the slab needs to test dry first. Relative humidity should read 75% or lower for glue-down systems, and a vapor barrier is typically required either way to keep moisture from reaching the cork.
Do You Need Underlayment for Cork Flooring?
Floating cork floors usually need an underlayment or vapor barrier, especially over concrete. Glue-down tiles generally don't need separate underlayment since the adhesive bonds the tile directly to a prepared, flat subfloor.
Is Cork Flooring Waterproof?
No. Cork resists moisture better than hardwood but isn't waterproof, and standing water or chronic dampness will damage both the material and the finish over time. That's why basements and below-grade rooms call for a floating system with a proper vapor barrier rather than glue-down tile.
How Long Does It Take to Install Cork Flooring?
Active installation moves fairly quickly, roughly 2 to 3 hours for a 10-by-15-foot room once prep work is done. Acclimation adds another 48 hours minimum beforehand, and glue-down jobs need additional cure time before the room can see full traffic. If you're also timing a laminate project in the same house, our laminate acclimation guide for Arlington Heights covers why rushing this step causes problems regardless of flooring type.
Can You Install Cork Flooring Yourself?
It depends more on tools and patience than raw difficulty. Floating systems need basic tools like a tapping block and spacers. Glue-down tile demands adhesive know-how and tight cutting tolerances. If that's outside your comfort zone, get a free estimate from a local flooring installation crew that handles cork regularly in Palatine, IL.
Browse recent completed flooring projects around Palatine and nearby towns like Barrington for an idea of finished results before you start cutting into your own floor. For homeowners in Palatine weighing DIY against hiring it out, visit SCV Floorsmith directly or contact the team for a quote before you buy materials.